
Have you noticed a tear in your car seat and felt unsure about fixing it? A damaged seat can make your car look old and worn out, but repairing it yourself can save you time and money.
Imagine restoring your seat to its original look without spending a fortune on professional help. In this guide, you’ll discover simple, effective steps to repair that tear quickly and easily. Keep reading, and you’ll be surprised at how manageable this fix can be!
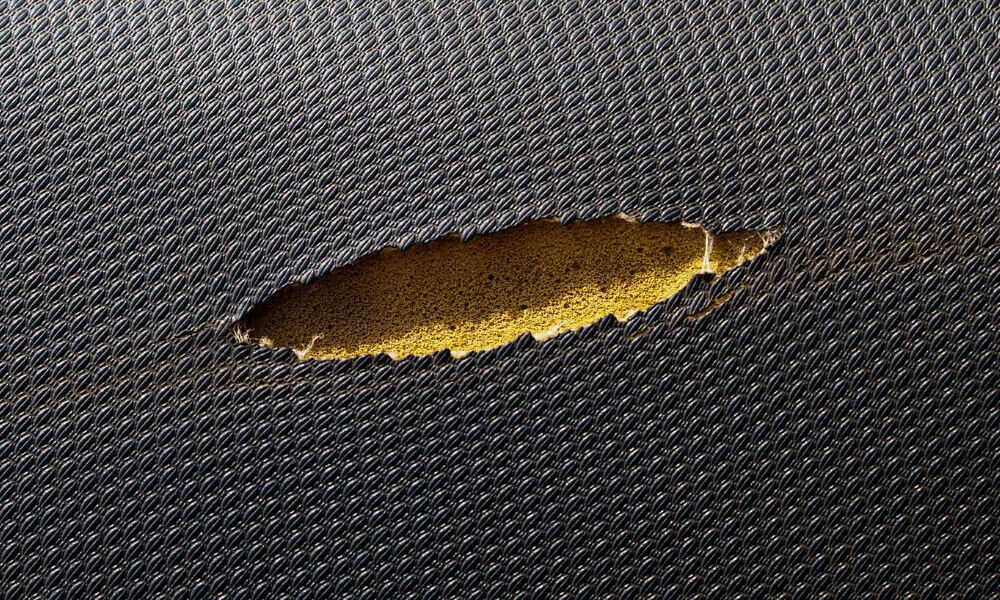
Credit: gofia.com
Tools And Materials Needed
Repairing a tear in a car seat starts with the right tools and materials. Having these ready makes the job easier and improves the result. You do not need many items to fix small tears. A few basic supplies can restore your seat quickly.
Basic Repair Kit
A simple repair kit includes a needle and strong thread. Choose thread color that matches your car seat fabric. Scissors are needed to trim loose threads and fabric edges. Fabric glue or a patch kit helps hold the tear together. A small piece of matching fabric works well for backing. A clean cloth is useful to wipe the area before starting.
Optional Supplies For Better Results
For a more professional look, use a vinyl or leather repair kit. These kits often include filler compounds and color compounds. Heat tools, like a hairdryer, can help set the glue or filler. A seam ripper can remove damaged stitching carefully. Foam padding helps if the tear affects the seat cushion. A pair of tweezers can assist in placing fabric patches neatly.
Assessing The Damage
Assessing the damage is the first step in repairing a tear in your car seat. This step helps you understand the type of tear and how severe it is. Knowing these details guides you to choose the right repair method and materials. Careful inspection saves time and prevents further damage.
Types Of Tears
Tears come in different forms. A straight cut is easier to fix than a jagged rip. Small punctures or holes also need a different approach. Sometimes, the fabric peels off without a real tear. Each type needs specific tools and techniques to repair properly.
Size And Location Impact
The size of the tear affects repair difficulty. Small tears under two inches usually require simple patching. Larger tears need sewing or replacement of fabric. The location also matters. Tears on seat edges endure more stress and wear. Central tears might be less prone to worsen. Understanding this helps pick the best repair strategy.
Preparing The Seat For Repair
Preparing the seat for repair is a key step in fixing a tear. A clean and smooth surface helps the patch or adhesive stick better. This makes the repair last longer and look neat.
Start with cleaning the area and removing any loose threads. These tasks create the best base for your repair work.
Cleaning The Area
Use a soft brush or cloth to remove dust and dirt. Avoid harsh chemicals that can damage the fabric or leather. A mild soap with water works well. Gently wipe the area around the tear. Let it dry completely before moving on.
Removing Loose Threads
Check the edges of the tear for loose threads. Use small scissors to cut them off carefully. Removing these threads stops the tear from getting bigger. It also makes the repair look cleaner and stronger.
Simple Patch Repair
Simple patch repair is a quick way to fix tears in car seats. It saves money and keeps your seat looking good. This method works well for small to medium tears. You only need a few tools and materials. Follow these easy steps for a neat repair.
Choosing The Right Patch Material
Pick a patch material that matches your seat fabric. Leather, vinyl, and cloth patches are common choices. Leather patches suit real leather seats. Vinyl patches work for synthetic seats. Cloth patches fit fabric seats best. Make sure the patch is slightly bigger than the tear. This helps cover the damage fully and stay in place.
Applying The Patch
Clean the area around the tear first. Use a mild cleaner and let it dry. Cut the patch to the right size and shape. Place it under or over the tear, depending on the type. Use strong adhesive designed for car seats. Press the patch firmly for a few minutes. Let it dry completely before using the seat again. This ensures the patch sticks well and lasts longer.
Sewing The Tear
Sewing the tear in your car seat is a practical way to fix small damages. It helps keep the seat strong and stops the tear from growing. Sewing takes patience but can save money on expensive repairs. A neat stitch blends well with the seat fabric.
Selecting Thread And Needle
Choose a strong thread that matches the seat color. Polyester thread works well for car seats because it resists wear and tear. Pick a needle that fits the thread and is sharp enough to pierce the seat fabric. A curved needle can help with tight spaces and thick materials.
Step-by-step Stitching Guide
Start by cleaning the torn area to remove dirt. Thread the needle and tie a knot at the end. Align the torn edges carefully and hold them together. Begin stitching from the inside of the seat to hide the knot. Use small, even stitches to join the fabric securely. Pull the thread gently to avoid puckering the fabric. Continue stitching until you reach the end of the tear. Tie a strong knot on the inside to secure your work. Trim any extra thread to keep the repair neat.

Credit: carmansauto.com.au
Using Adhesive Repair Kits
Using adhesive repair kits offers a simple way to fix tears in car seats. These kits come with everything needed to patch small holes and rips. They help restore the seat’s look without replacing it. This method saves time and money. It works well on leather, vinyl, and fabric car seats. Proper use of adhesives creates a strong, lasting bond that holds the tear together.
Types Of Adhesives
Repair kits often include different adhesives. Some are liquid glues that dry clear and flexible. Others come as patches with adhesive backing. Leather repair kits may use special glue made for soft materials. Fabric adhesives are designed to hold cloth fibers. Choose the adhesive type that matches your seat’s material. This ensures a better bond and a natural finish.
Application Techniques
Start by cleaning the torn area well. Remove dirt and oils for better glue hold. Apply a thin layer of adhesive to the tear edges. Press the edges together gently but firmly. Use a clamp or heavy object to keep the area pressed. Let the glue dry fully, which can take hours. Avoid stretching the seat while drying. For larger tears, place a backing patch under the tear before gluing.
Finishing Touches
After fixing the tear in your car seat, the final steps matter most. These finishing touches help the repair look natural and last longer. Taking time here makes your seat look almost new again. This part is simple but important. Let’s see how to blend and protect your repair.
Blending The Repair
Use a matching color dye or fabric paint. Apply it gently over the repaired area. This hides the patch and makes the seat look smooth. Dab small amounts and let it dry between layers. Blend the edges carefully with a soft cloth. This step helps the repair fit in well with the rest of the seat.
Check the texture too. If the seat is leather, use a conditioner after dyeing. It softens the material and improves the look. For cloth seats, a fabric brush can help smooth the fibers. Take your time to make the repair blend naturally.
Protecting The Seat
Seal the repair with a clear protector spray. This guards against dirt, water, and wear. Choose a product made for your seat type. Spray lightly and evenly over the fixed area. Let it dry fully before using the car. This step extends the life of your repair.
Consider using seat covers for extra protection. They keep your seats safe from future damage. Clean your seats regularly to avoid dirt buildup. Proper care helps maintain the seat’s look and repair quality.

Credit: www.youtube.com
When To Seek Professional Help
Knowing when to seek professional help is important for car seat repairs. Some damages need skills and tools beyond home fixes. Ignoring complex issues can make the tear worse. Professionals ensure the repair looks good and lasts long.
Complex Tears
Large or jagged tears require expert attention. Simple glue or patches might not hold well. Professionals use special techniques to restore strength. They match the seat’s texture and color perfectly. This keeps your car seat safe and neat.
Material Replacement Needs
Some tears mean the material must be replaced. Professionals can remove old fabric without damage. They fit new material with precise stitching. This is common with leather or vinyl seats. Proper replacement improves comfort and protects the seat.
Frequently Asked Questions
How Do I Fix A Small Tear In Car Seat Leather?
To fix a small tear, clean the area and trim loose threads. Use a leather repair kit with adhesive and filler. Apply in thin layers and let it dry. Finish with a color-matching dye for a seamless look.
Can I Repair Fabric Car Seat Tears At Home?
Yes, fabric tears can be repaired at home. Use a fabric patch or upholstery glue. Trim frayed edges, place the patch underneath, and press firmly. Allow it to dry completely before using the seat.
What Tools Are Needed For Car Seat Tear Repair?
Essential tools include a needle, thread, scissors, upholstery glue, and a repair kit. For leather, use a filler and color dye. Clean the seat before starting. Proper tools ensure a neat and durable repair.
Is Professional Repair Better Than Diy For Car Seat Tears?
Professional repair offers expert results, especially for large tears or luxury materials. DIY repairs save money and work for minor damage. Consider the tear size and your skill level before deciding.
Conclusion
Fixing a tear in your car seat can save money and keep your car looking nice. Small tears do not need expensive replacements. With a few simple tools and steps, you can repair the seat yourself. Take your time and follow the instructions carefully.
The repair will make your seat stronger and look better. Regular care helps prevent new damage. Keep your car seat clean and dry to last longer. A neat repair adds comfort and value to your vehicle. Try it today and enjoy a fresh car interior.