
Your car seat is more than just a place to sit—it’s part of your daily comfort and style. When a tear appears in your leather seat, it can feel frustrating and make your car look worn out.
But before you think about expensive replacements, there’s good news: you can fix that tear yourself. Imagine saving money and restoring your seat’s look with simple steps you can follow right now. Ready to learn how to repair your torn leather car seat and bring back that smooth, sleek finish?
Let’s dive in.
Assessing The Damage
Assessing the damage is the first step to fix a torn leather car seat. It helps decide the right repair method and tools needed. Careful inspection saves time and money. It also prevents further damage during repair.
Identifying Tear Types
Tears come in different forms. A small puncture is easier to fix than a large rip. Check if the tear edges are clean or frayed. Straight tears need different care than jagged ones. Note if the tear affects the seat’s padding or structure. This detail guides the repair approach.
Checking Seat Material
Not all leather is the same. Some seats use real leather, others use synthetic leather or vinyl. Real leather feels soft and porous. Synthetic leather is smoother and less flexible. Vinyl is plastic-like and shiny. Knowing the material helps pick the right glue and patch. It also affects color matching and finish.

Credit: www.canellimare.com
Gathering Repair Supplies
Before fixing a torn leather car seat, gather all necessary supplies. Having the right tools and materials makes the repair process smoother. It also helps achieve a neat, lasting fix. Start by collecting basic tools and a quality leather repair kit. This step saves time and avoids interruptions during the repair.
Essential Tools
Prepare a clean workspace and good lighting. You will need scissors to trim loose threads or edges. A soft cloth helps clean the area around the tear. Sandpaper can gently smooth rough spots on the leather. A spatula or small plastic card will spread the repair compound evenly. Keep some water nearby for cleaning and dampening the patch.
Choosing The Right Leather Kit
Select a leather repair kit that matches your car seat color closely. Kits with flexible compounds work best for car seats that bend. Check the kit includes adhesive, filler, and color compounds. Some kits also offer texture paper to mimic leather grain. Reading product reviews helps pick a reliable, easy-to-use kit. Avoid kits with harsh chemicals that might damage your leather.
Preparing The Seat
Preparing the seat is the first step in fixing a torn leather car seat. This stage helps make sure the repair lasts long and looks good. It requires careful cleaning and trimming to get the surface ready for patching or stitching.
Cleaning The Leather
Start by cleaning the leather around the tear. Use a soft cloth and mild leather cleaner. Gently wipe the area to remove dirt, oils, and dust. Avoid soaking the leather with water. Let it dry completely before moving to the next step. Clean leather helps the patch or glue stick better.
Trimming Loose Threads
Check the tear for any loose threads or frayed edges. Use small scissors to carefully trim these threads. Removing loose ends prevents further tearing. It also helps create a smooth edge for repair. Take your time and cut only what is necessary.
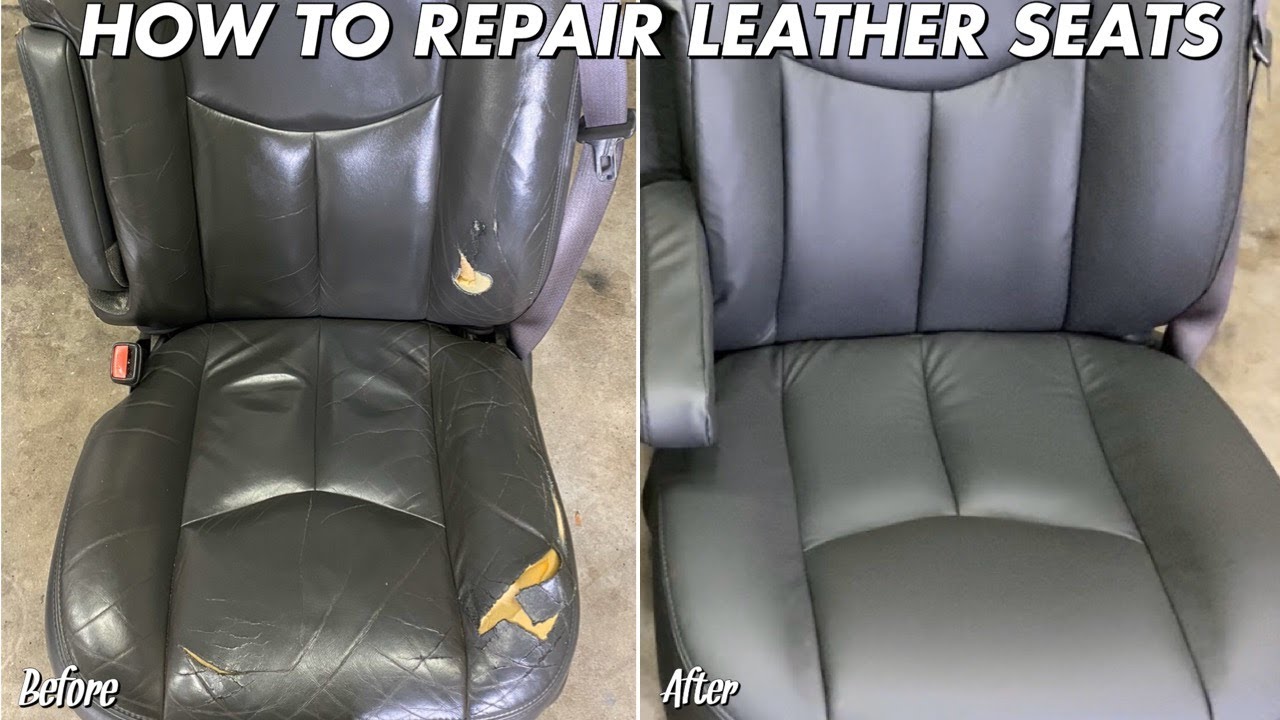
Fixing Small Tears
Small tears in leather car seats can spoil the look of your vehicle. Fixing these tears early keeps the damage from growing. Simple tools and materials can restore your seat’s smooth surface. Follow these easy steps to repair small tears and keep your leather looking good.
Using Leather Glue
Leather glue works well for small tears. Clean the area around the tear first. Apply a thin layer of glue under the tear edges. Press the edges together gently. Hold them in place for a few minutes. Let the glue dry fully before using the seat. This method stops the tear from widening. It also keeps the leather soft and flexible.
Applying Leather Filler
Leather filler fills gaps and smooths rough edges. Start by cleaning the torn area carefully. Use a spatula to apply the filler inside the tear. Spread it evenly to cover holes or cracks. Let the filler dry completely. Sand the area lightly to make it smooth. This step prepares the surface for coloring or finishing. Filler restores the seat’s original shape and feels soft.
Repairing Larger Tears
Repairing larger tears in a leather car seat needs more care than small cuts. These tears can make the seat look bad and cause more damage. Fixing big tears requires stronger methods and good tools. This helps the seat last longer and look neat again.
Patching Techniques
Start by cleaning the area around the tear well. Use a leather cleaner or mild soap and water. Let it dry completely before patching.
Cut a leather patch that is slightly bigger than the tear. Use a piece that matches the seat’s leather type and thickness. Apply leather glue to the patch and the back of the torn area.
Press the patch firmly under the torn edges. Smooth the leather on top to hide the patch. Let the glue dry as per the instructions for strong hold.
Blending Color And Texture
Match the patch color with the car seat’s leather. Use leather dye or paint in small amounts. Apply gently with a sponge or brush.
Work the dye evenly over the patch and surrounding area. Blend the edges to avoid sharp color lines. Let each layer dry before applying another.
Texture matters as much as color. Use a leather conditioner or texture tool to mimic the original grain. This step helps the repair look natural and less visible.
Credit: www.youtube.com
Finishing Touches
Finishing touches are key to making your repaired leather seat look great and last longer. These steps help smooth the surface and protect the leather. Taking time now saves you from future damage.
Sanding And Smoothing
Use fine-grit sandpaper to gently smooth the patched area. This removes rough spots and blends the repair with the rest of the seat. Move the sandpaper in small, circular motions. Do not press too hard to avoid damage. After sanding, wipe the area clean with a soft cloth to remove dust.
Applying Leather Conditioner
Apply a good leather conditioner to keep the seat soft and flexible. This prevents cracks and dryness. Use a clean cloth to rub the conditioner evenly over the repaired spot. Let it absorb for a few minutes, then wipe off any extra. Conditioning also helps restore the leather’s natural shine.
Preventing Future Damage
Preventing future damage to your leather car seats keeps them looking new for longer. Small tears can grow if the leather dries out or gets dirty. Taking care of your seats regularly helps avoid costly repairs. Protecting the leather also keeps your car’s interior comfortable and stylish.
Regular Maintenance Tips
Clean your leather seats often with a soft cloth. Use a cleaner made for leather to avoid damage. Avoid harsh chemicals that dry out the leather. Wipe spills immediately to prevent stains. Check for small cracks or tears and fix them early. Conditioning the leather every few months keeps it soft and strong. Use a conditioner that matches your seat type. Regular care stops the leather from becoming brittle and breaking.
Protecting Your Leather Seats
Use seat covers when carrying sharp or heavy items. Avoid sitting with keys or tools in your pockets. Park in shaded areas to reduce sun damage. Sunlight can fade and dry the leather quickly. Apply a UV protectant spray to block harmful rays. Keep pets off the seats or use pet covers. Avoid eating inside the car to prevent food stains. Gentle care protects your investment and maintains comfort.
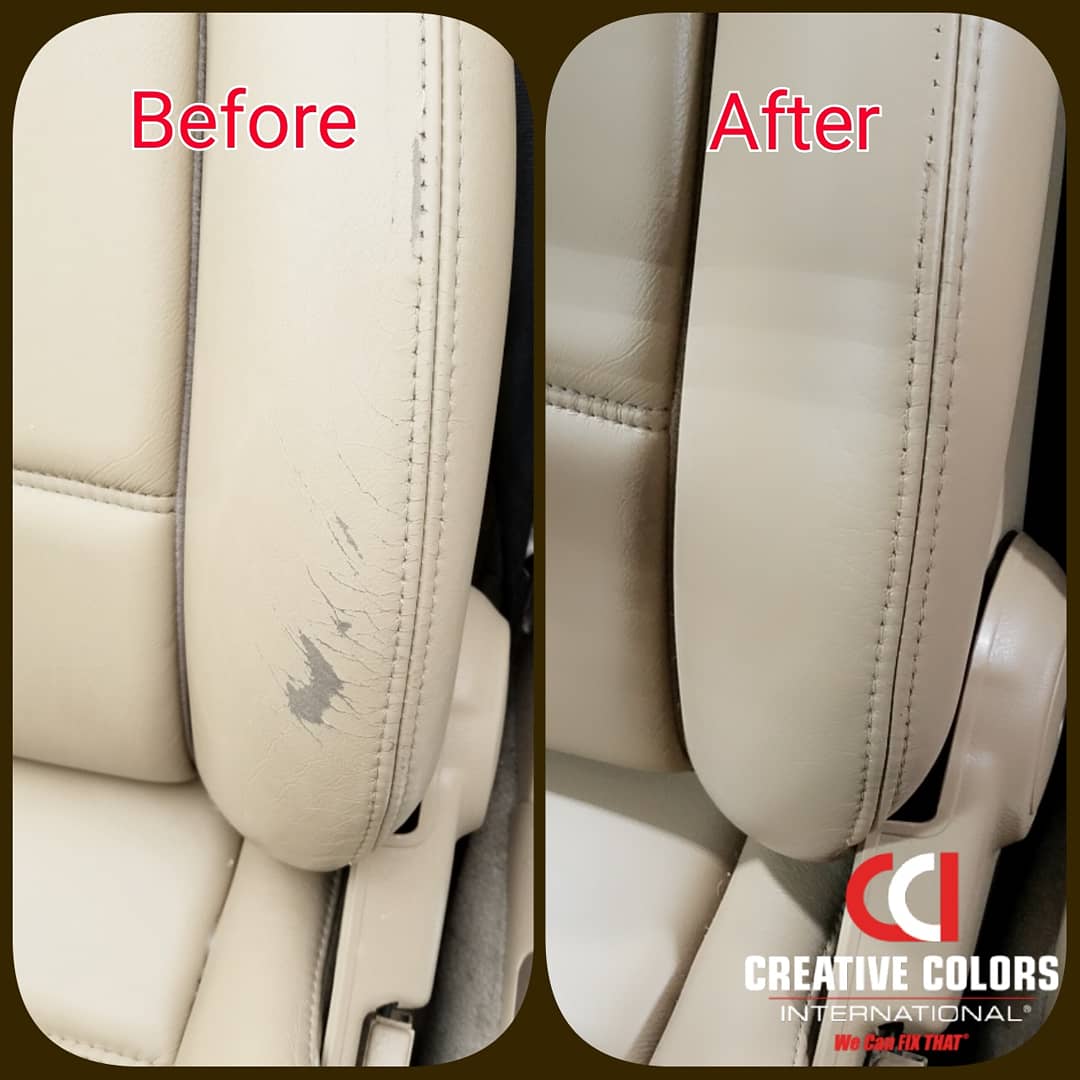
Credit: wecanfixthat.com
Frequently Asked Questions
How Do I Repair A Torn Leather Car Seat Myself?
To repair a torn leather car seat, clean the area thoroughly first. Use a leather repair kit with adhesive and filler. Apply the filler in thin layers, then color-match and seal the repair. Allow drying time between steps for best results.
What Materials Are Needed To Fix A Leather Car Seat Tear?
You need a leather repair kit, adhesive, filler compound, colorant, sandpaper, and a spatula. Also, keep a soft cloth and leather cleaner handy. These materials help restore the seat’s appearance and durability effectively.
Can I Use Household Glue To Fix Leather Car Seats?
Household glue is not recommended for leather seats. It may not bond well or be flexible enough. Leather-specific adhesives ensure a strong, lasting repair that blends with the seat’s texture and color.
How Long Does A Leather Car Seat Repair Last?
A proper leather repair can last several years with good care. Durability depends on repair quality and seat usage. Regular conditioning and avoiding harsh conditions help maintain the fix longer.
Conclusion
Fixing a torn leather car seat is easier than you think. Small tears can look like new with simple tools. Take your time and follow each step carefully. This saves money and keeps your car looking good. Regular care helps leather last longer and stay strong.
A neat repair also adds comfort while driving. Try these tips to bring your seat back to life. Your car’s interior deserves attention and care. A little effort makes a big difference.