
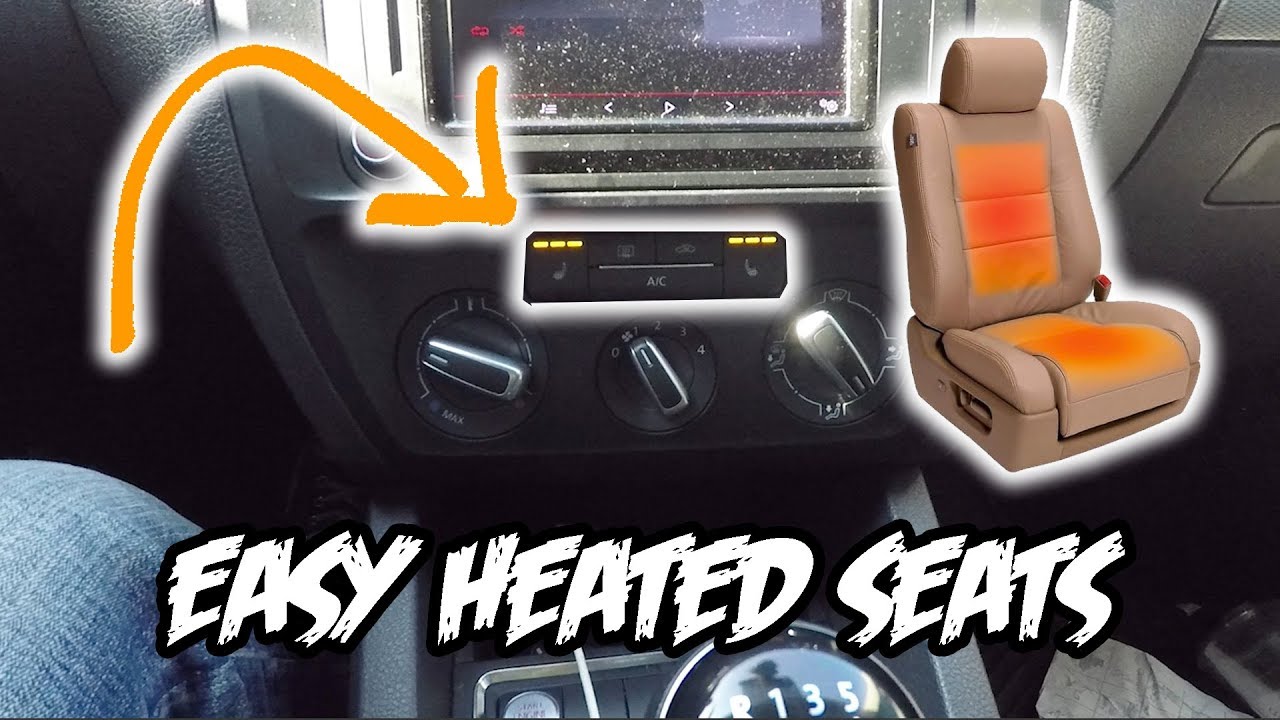
Imagine sliding into your car on a chilly morning and feeling instant warmth spreading through your seat. Sounds perfect, right?
If you’ve ever wished for that cozy comfort, installing heated seats might be easier than you think. In this guide, you’ll discover simple steps to add heated seats to your car without breaking the bank or needing expert help. Ready to transform your driving experience and stay warm on every ride?
Keep reading, and you’ll learn exactly how to do it yourself.
Tools And Materials Needed
Installing heated seats in your car needs the right tools and materials. These help complete the job safely and correctly. Prepare everything before starting the installation. This saves time and avoids mistakes.
Essential Tools
You will need a few basic tools for this task. A screwdriver set is important for removing seat covers and panels. A wire stripper helps connect electrical wires. Use a multimeter to check power and connections. A utility knife is useful for trimming seat covers if needed. Pliers and electrical tape are handy for securing wires.
Heated Seat Kits
Choose a heated seat kit that fits your car model. Most kits include heating pads, wiring, switches, and connectors. Some kits offer adjustable heat settings for comfort. Read the instructions that come with the kit carefully. Check for all parts before starting the work. Quality kits ensure safety and long-lasting warmth.
Safety Gear
Wear safety gloves to protect your hands from sharp edges. Use safety glasses to guard your eyes from dust and debris. Disconnect the car battery before handling electrical parts. Work in a well-lit area to see clearly. Following safety steps prevents accidents and damage.
Credit: www.youtube.com
Preparing Your Vehicle
Preparing your vehicle is the first step to install heated seats safely. This step makes the process easier and protects your car’s electrical system. Taking time now saves problems later.
Disconnecting The Battery
Start by disconnecting the car battery. This prevents electric shock or short circuits. Use a wrench to loosen the negative battery cable. Remove the cable and keep it away from the battery terminal. Never touch both battery terminals at the same time.
Removing The Seat
Next, remove the seat where you want to add heated pads. Slide the seat all the way back to access front bolts. Use a socket wrench to remove these bolts. Slide the seat forward to reach rear bolts and remove them. Carefully lift the seat out of the car. Ask for help if the seat is heavy.
Clearing The Workspace
Clear the area around your workspace. Remove any loose items or debris under the seat. Clean the seat frame and floor to avoid dirt on the heating pads. A clean space helps you work faster and keeps parts safe.
Installing Heating Elements
Installing heating elements is the key step in adding heated seats. It requires care and attention to place the pads correctly. Proper installation ensures the seat warms evenly and safely.
Follow these steps to fit the heating pads properly. This will make your car seat warm and comfortable.
Positioning The Heating Pads
Place the heating pads on the seat where you want warmth. Usually, the backrest and the seat cushion need pads. Align the pads flat without wrinkles or folds. Avoid areas with heavy pressure or sharp edges. This prevents damage to the heating elements.
Securing The Pads To The Seat
Use adhesive or straps to hold the pads firmly. Make sure they do not move when you sit down. Check that the pads stay flat and smooth. Loose pads can cause discomfort and uneven heating. Secure wires safely to avoid damage or interference.
Reassembling The Seat Cover
Carefully put the seat cover back over the heating pads. Stretch the cover evenly to avoid wrinkles. Make sure the heating wires are not pinched or bent. Fasten all clips and screws tightly. Test the heating before finishing to confirm it works well.
Wiring And Electrical Connections
Wiring and electrical connections are key parts of installing heated seats in your car. Proper wiring ensures the seat heaters work safely and efficiently. Careful attention helps avoid electrical problems and keeps the system reliable. This section guides you through the basic steps of wiring your heated seats.
Routing The Wires
Start by planning the wire path under the seat and along the car floor. Use existing wire channels if possible for a clean look. Avoid sharp edges and moving parts that can damage wires. Secure wires with clips or zip ties to prevent movement and wear. Make sure the wires reach the power source and control switch without stretching.
Connecting To Power Source
Locate a suitable power source near the car battery or fuse box. Use a fuse tap or an inline fuse to protect the circuit. Connect the positive wire to the power source and the negative wire to a ground point. Double-check all connections for tightness and correct polarity. Loose or wrong connections may cause shorts or failures.
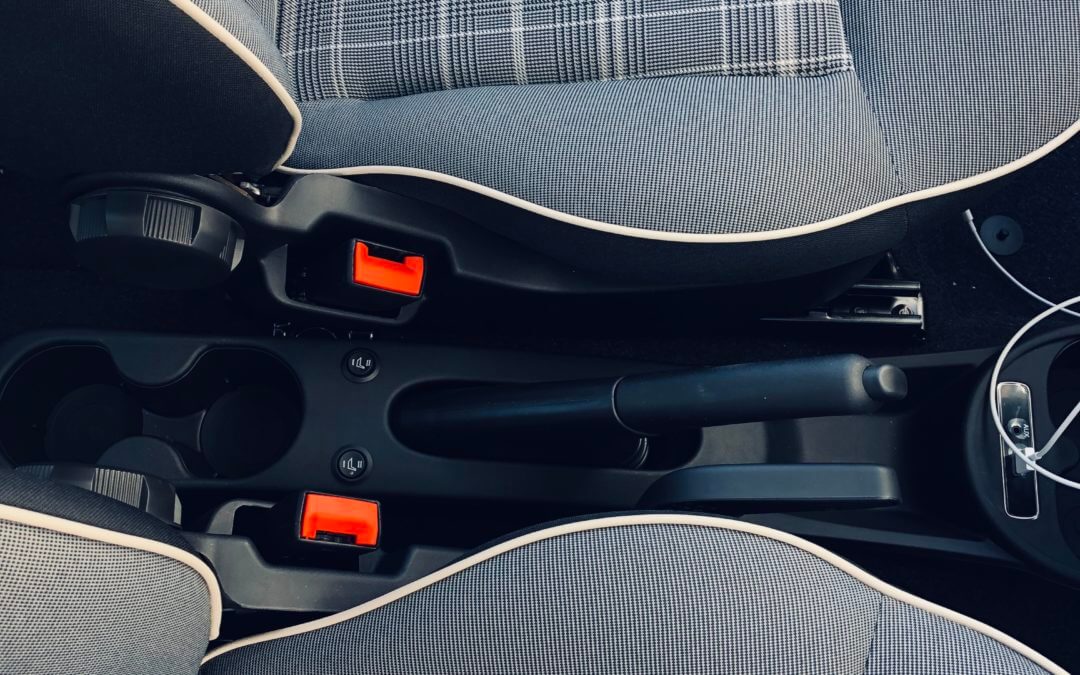
Installing The Control Switch
Choose a convenient spot on the dashboard or center console for the control switch. Route the control wires from the seat heater to the switch location. Connect the switch according to the manufacturer’s instructions. Test the switch to ensure it turns the heated seats on and off correctly. Secure the switch firmly to avoid vibration or loosening.
Testing The Heated Seats
After installing heated seats, testing is essential. This step ensures the seats heat up correctly. It helps confirm all wiring and controls work as planned.
Testing also reveals any connection problems early. This saves time and avoids damage. Follow these steps to test your new heated seats safely and effectively.
Reconnecting The Battery
First, reconnect your car battery. Secure the negative terminal last to avoid sparks. Make sure all connections are tight. This restores power to your vehicle’s electrical system.
Check that no wires are loose or pinched. Keep tools and metal objects away from the battery terminals. This prevents shorts or shocks during testing.
Verifying Functionality
Turn on your car and activate the heated seat switch. Feel the seat surface for warmth after a few minutes. The heat should spread evenly across the seat.
Try different heat settings if available. Each level should change the warmth accordingly. Watch for any flickering lights or unusual noises. These signs may indicate electrical issues.
Troubleshooting Common Issues
If the seat does not heat, check the fuse first. Replace any blown fuses with the correct rating. Inspect wiring connectors for corrosion or loose pins.
Confirm the ground wire is properly attached. A poor ground can stop the heating element from working. If problems persist, consult a professional for help.
Credit: caraudiokent.co.uk
Final Adjustments And Safety Checks
Final adjustments and safety checks are important before using heated seats. They help make sure the installation works well and is safe. These steps prevent problems like loose wires or uncomfortable seats. Take time to check everything carefully. Doing so keeps you safe and your car comfortable.
Securing All Components
Check that all parts are tight and do not move. Use zip ties or clips to hold wires in place. Make sure connectors are fully plugged in. Loose parts can cause noise or damage over time. Secure components prevent accidents and keep the system stable.
Ensuring No Wire Interference
Look for wires that touch moving parts, like seat tracks. Move wires away from sharp edges or hot engine areas. Use protective sleeves or tape to cover exposed wires. Proper wire placement stops shorts and electrical problems. Safe wiring protects both you and your car.
Maintaining Seat Comfort
Test the seat padding after installation. Make sure the heating pad does not create bumps. Adjust the seat cover to fit smoothly over the new parts. Comfort is key for a pleasant driving experience. A well-finished seat feels natural and cozy.

Credit: shop.advanceautoparts.com
Frequently Asked Questions
How Much Does It Cost To Install Heated Seats?
Installing heated seats typically costs between $200 and $500. The price depends on your car model and kit quality. Professional installation may add labor fees. DIY installation can save money but requires technical skill and proper tools.
Can I Install Heated Seats Myself?
Yes, DIY installation is possible with proper instructions and tools. It involves removing seats, wiring the heating elements, and connecting to power. However, ensure you follow safety guidelines to avoid electrical issues or damage to your vehicle.
How Long Does Heated Seat Installation Take?
Installation usually takes 2 to 4 hours for experienced individuals. Time varies based on vehicle type and skill level. Professional installers may complete the job faster with specialized tools and expertise.
Are Heated Seats Safe To Install In Any Car?
Heated seats are generally safe if installed correctly. Use compatible kits designed for your vehicle model. Avoid overloading electrical circuits and ensure proper insulation to prevent short circuits or fire hazards.
Conclusion
Installing heated seats in your car adds comfort during cold days. The process takes time but is doable with patience and care. Follow each step carefully to avoid mistakes and ensure safety. Test your work before driving to confirm proper function.
Enjoy warm rides and a cozy car interior all winter long. This upgrade makes every drive much more pleasant and relaxing. Simple tools and clear instructions help you complete the job. Now, your car feels warmer and more inviting on chilly mornings.