
Your car’s leather seats add a touch of luxury and comfort, but a tear can quickly ruin that feeling. If you’ve noticed a rip or cut in your leather seat, you might be wondering if it’s possible to fix it yourself without spending a fortune.
The good news is—you can repair those tears and restore your seat’s look with simple steps. In this guide, you’ll discover easy and effective methods to repair leather seats in your car, saving you time and money. Keep reading, and you’ll learn how to bring your car’s interior back to life quickly and confidently.
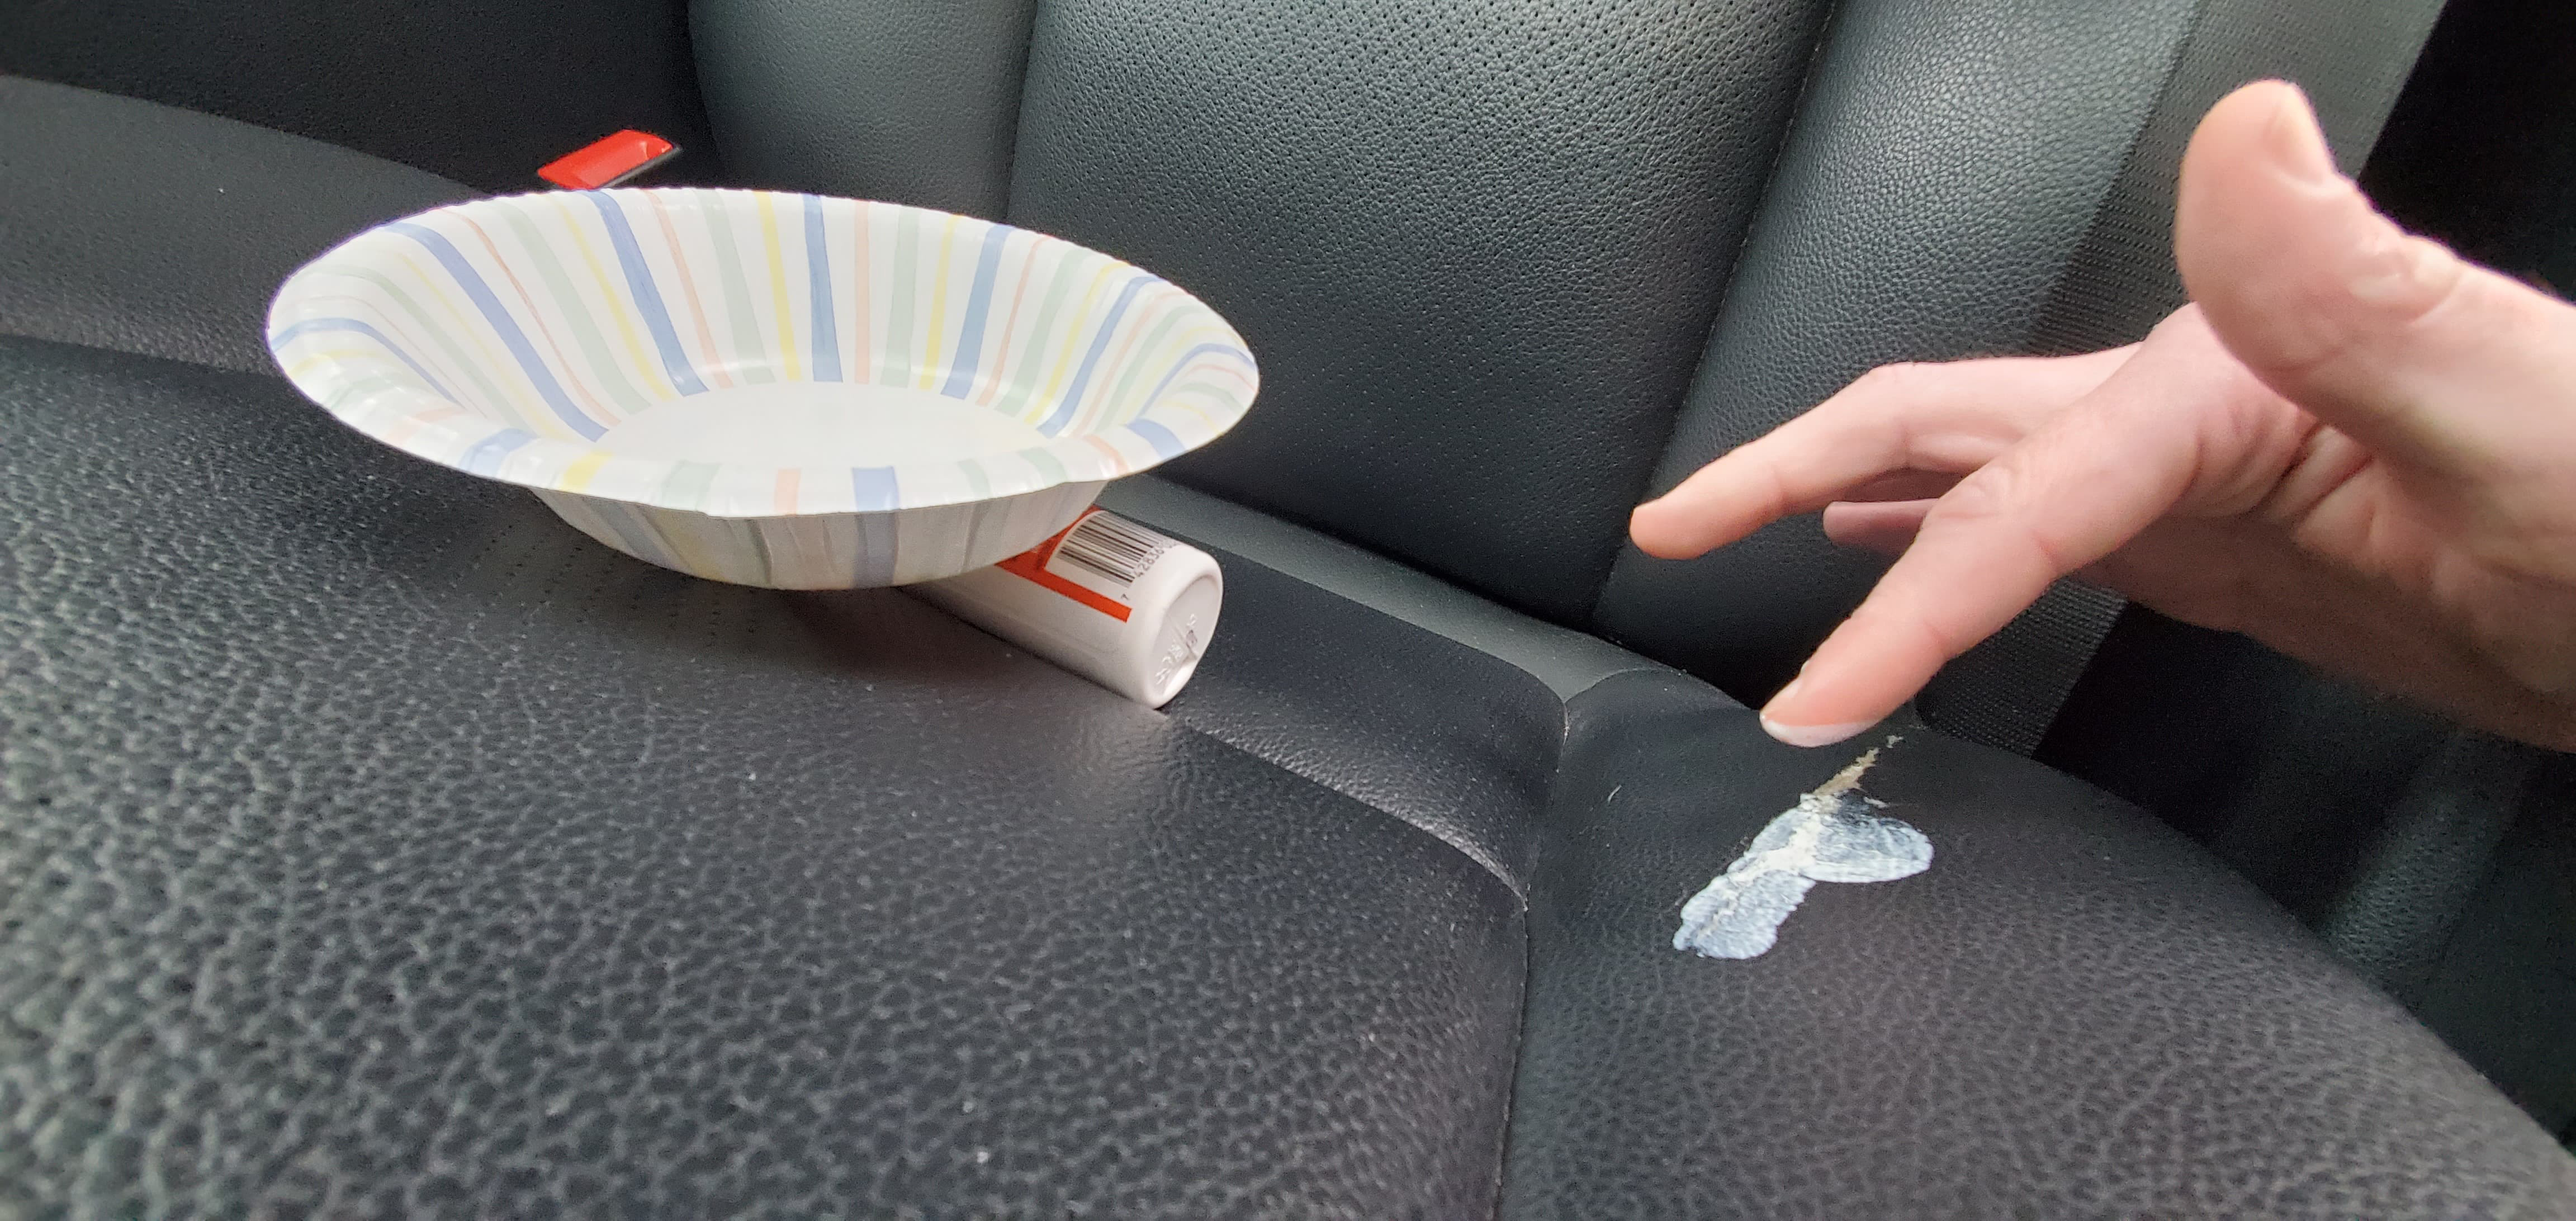
Credit: www.tearmender.com
Assessing The Damage
Assessing the damage to your car’s leather seats is the first step in repair. It helps you understand the type and size of the tear. This step guides you on what tools and materials are needed. Careful assessment saves time and money. It also ensures a better repair result.
Types Of Leather Tears
Leather tears come in many forms. Small cuts are easy to fix with simple patches. Larger rips might need stitching or glue. Cracks show wear and need special treatment. Some tears have loose edges, others are clean breaks. Knowing the type helps choose the right repair method.
Tools And Materials Needed
Prepare the right tools before starting. You will need leather glue or adhesive for small tears. A leather repair kit often includes patches and filler. Sandpaper helps smooth rough edges. Scissors cut the patch to size. Clean cloth and alcohol wipe the area before repair. Having these ready makes the process smooth.
Cleaning The Leather
Cleaning the leather is the first step in repairing a car seat tear. Dirt and oils can block repair materials from sticking properly. A clean surface helps the repair last longer. Take time to clean the leather gently but thoroughly.
Removing Dirt And Oils
Start by wiping the seat with a soft cloth. Use a cleaner made for leather. Avoid harsh chemicals that can damage the leather. Apply the cleaner with a damp cloth and rub gently. Focus on areas around the tear. This removes dust, dirt, and skin oils.
Let the leather dry completely before moving to the next step. Dry leather absorbs repair glue better. Avoid direct sunlight or heat sources during drying.
Preparing The Surface
After cleaning, check the leather for loose fibers or peeling edges. Trim any frayed parts carefully with scissors. Lightly sand the area around the tear using fine-grit sandpaper. This creates a rough surface for better adhesion.
Remove sanding dust with a clean, dry cloth. Make sure the surface is smooth and free of dirt. A clean, prepared surface ensures the repair material bonds well and the tear closes neatly.
Fixing Small Tears
Small tears in leather car seats can spoil the look of your vehicle. Fixing these tears quickly stops them from growing larger. The right tools and methods make repairs easy and effective. Here are two simple ways to repair small tears and restore your leather seats.
Using Leather Repair Kits
Leather repair kits come with everything needed to fix small tears. Kits usually include a patch, adhesive, color compounds, and instructions. Clean the area around the tear before starting. Cut the patch to fit under the tear, slightly bigger than the tear itself. Apply adhesive to the patch and place it beneath the tear. Press the leather gently to bond it with the patch. Use color compounds from the kit to blend the repair with the seat color. Let it dry completely for a strong, nearly invisible fix.
Applying Adhesive And Filler
Adhesive and filler work well for small tears without loose flaps. Clean the damaged area carefully. Apply leather adhesive to the edges of the tear. Press the edges together and hold until the adhesive sets. Fill any small gaps with leather filler using a spatula or applicator. Smooth the filler so it matches the seat surface. Allow the filler to dry fully. Use a matching leather dye or paint to cover the repair and blend it with the rest of the seat.
Credit: www.reddit.com
Repairing Larger Tears
Repairing larger tears in leather car seats needs careful work. Small fixes won’t hold well on big holes. You must patch the tear and make the color match the rest of the seat. This keeps your seat strong and looking good again.
Patching Techniques
Start by cleaning the torn area. Remove dirt and oils with a mild cleaner. Cut a patch from leather or a strong fabric. The patch should be slightly bigger than the tear. Slide the patch under the tear carefully.
Use a strong adhesive made for leather. Apply glue on both the patch and the tear edges. Press the tear down onto the patch. Hold it firmly for several minutes. Let it dry fully before moving on.
Next, smooth the edges with fine sandpaper. This step helps the patch blend with the seat. Avoid rough sanding to protect the leather.
Blending And Coloring
Match the seat color with leather dye or paint. Test colors on a hidden area first. Use a small brush or sponge for careful application. Apply thin layers and build up color slowly.
Blend the edges of the repair into the seat’s surface. This hides the patch and tear lines. Allow each layer to dry before adding the next.
Finish with a leather conditioner. This keeps the leather soft and protects the repair. Your seat will look neat and last longer.
Smoothing And Finishing
Smoothing and finishing are the final steps in repairing a leather car seat tear. These steps make the repaired area look natural and blend well with the rest of the seat. Proper smoothing removes rough edges and helps the repair last longer. Finishing protects the leather and keeps it soft.
Sanding And Texturing
Start by gently sanding the repaired area with fine-grit sandpaper. This removes any bumps and rough spots. Sand in small, circular motions for even results. Next, add texture to match the surrounding leather. Use a leather texture pad or a soft cloth with light pressure. Matching the original texture helps the repair look seamless and less noticeable.
Applying Leather Conditioner
After sanding and texturing, apply a leather conditioner to the repaired spot. This keeps the leather soft and prevents cracking. Use a clean cloth to spread the conditioner evenly. Let it absorb into the leather for at least 30 minutes. Conditioning also restores moisture and improves the color of the repaired area. Regular conditioning helps maintain the seat’s appearance over time.
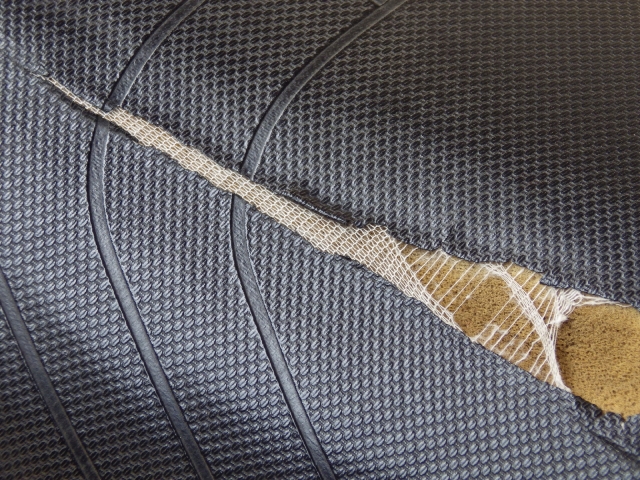
Credit: www.goldeagle.com
Preventing Future Damage
Preventing future damage to leather car seats keeps them looking good longer. Small tears grow if seats are not cared for. Taking simple steps stops wear and tear early. Regular care protects your investment and comfort.
Regular Maintenance Tips
Clean seats gently using a soft cloth. Use leather cleaner made for cars only. Avoid harsh chemicals that dry out leather. Condition seats every three months to keep leather soft. Check for small cracks or tears often. Fix tiny damage before it grows bigger. Keep seats dry to prevent mold and mildew.
Protective Measures
Use seat covers to shield leather from sharp objects. Avoid placing heavy items that can scratch the surface. Park in shaded areas to reduce sun damage. Apply a leather protectant to block stains and spills. Avoid wearing clothes with sharp buttons or zippers. Keep pets off seats or use pet covers. These steps help leather last longer and stay strong.
Frequently Asked Questions
How Do I Fix Small Tears In Leather Car Seats?
Small tears can be repaired using a leather repair kit. Clean the area, apply adhesive, and use a backing fabric if needed. Then, apply color compound to match the seat. Allow it to dry completely for a seamless finish.
What Materials Are Needed To Repair Leather Seat Tears?
You need a leather repair kit, which includes adhesive, backing fabric, color compounds, and applicators. Additionally, clean cloths, scissors, and rubbing alcohol help prepare the surface for repair. These materials ensure a professional and durable fix.
Can I Repair Leather Seat Tears Without Professional Help?
Yes, small tears can be fixed at home with a repair kit. Follow instructions carefully for best results. For larger or complex tears, consider consulting a professional to avoid worsening the damage.
How Long Does A Leather Seat Repair Take?
Most leather seat repairs take between 30 minutes to a few hours. Drying and curing time can vary depending on adhesive and compound used. Proper patience ensures a strong and lasting repair.
Conclusion
Repairing leather car seats can save money and keep your car looking good. Small tears do not need expensive help. Use simple tools and follow clear steps carefully. Fixing the tear soon stops it from getting worse. Clean and condition the leather after repair to keep it soft.
Regular care makes your seats last longer. A little effort goes a long way in keeping your car nice. Try these tips to restore your leather seats with confidence.